If you like to shoot outside in natural light, then you’ve certainly heard the phrase “open shade”. Open shade is considered desirable because the light is not direct and yet it still creates lovely light on your subject. So easy, right? Well, maybe. But maybe not.

Finding open shade proved to be tricky for me at first, until I asked LOTS of questions and tried LOTS of experiments and studied my results. I hope I can help you get a jump start on understanding open shade.
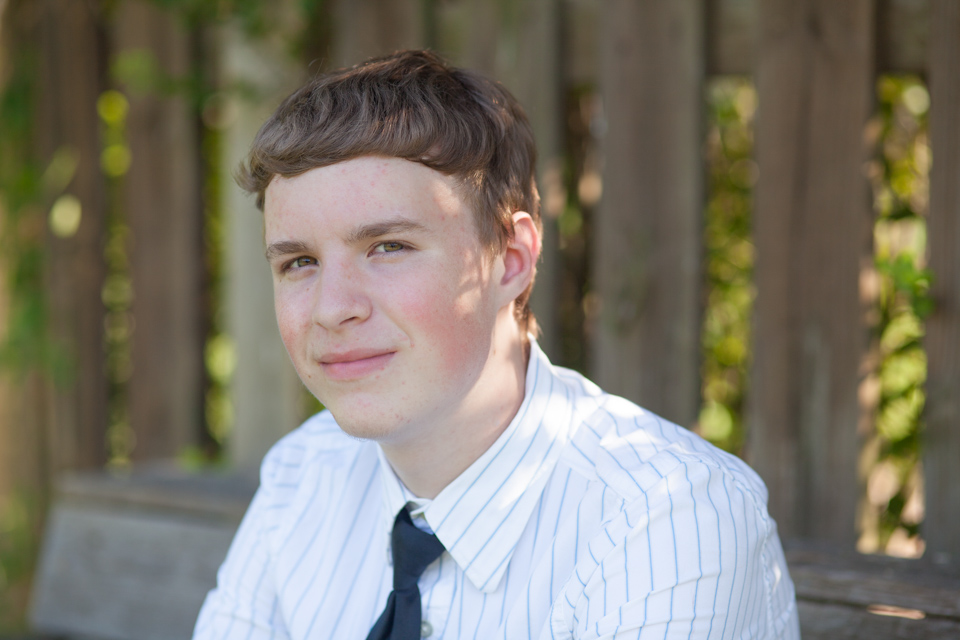
First of all, open shade is, obviously, in shade. When finding shade, make sure to avoid dappled light. Dappled light occurs when light shines through leaves or some other structure, creating uneven light on your subject. Dappled light creates uneven spots of light and dark on your subject and is really distracting. If you MUST shoot under dappled light, one thing that can help is to turn your subjects away from the dappled light source, so that dappled light will fall on their backs instead of on their faces. In the picture below, I should have turned the subject a little bit more – you can see the dappled light on his neck and the side of his face.
Next, understand where your light is coming from. Here’s where I always got hung up. Where your light is coming from IS NOT NECESSARILY where the light source is located. The DIRECTION of your light is where the light comes from. For example, if your subject is standing under a tree, with a large hedge behind the tree and the sun behind her back, but in front of her is a large open field with sky above (no obstructions like other trees or buildings), then the direction of light is in front of your subject (even though the light source is behind her). That’s because the tree/hedge is blocking the light coming towards her back. There isn’t anything blocking the light coming toward her face, so the direction of light is in front of your subject.
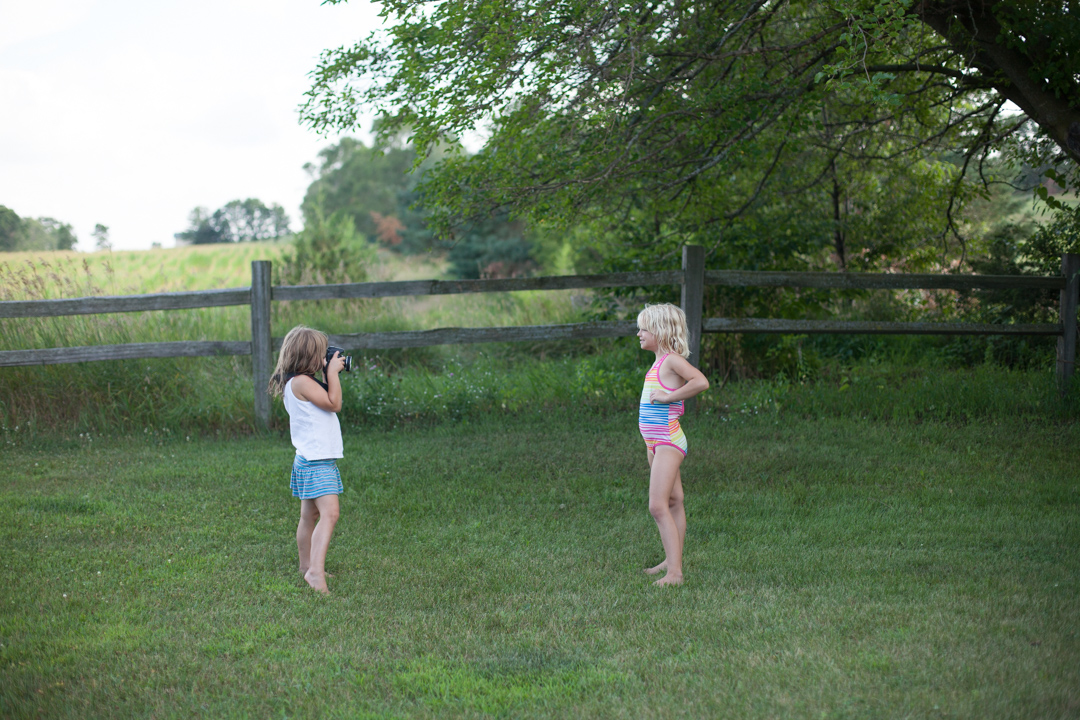
To illustrate my point, I’ve enlisted the help of my two smallest assistants, Maura (left) and Amy (right)!

In this picture, Amy – the photographer – has placed Maura – the subject – under a tree with a dark background behind her (more trees and a fence). In front of Maura is a big open sky. The sun is actually behind Maura’s back, but it’s shaded by the tree, fence, and hedge. The direction of light is coming from the open sky in front of her.
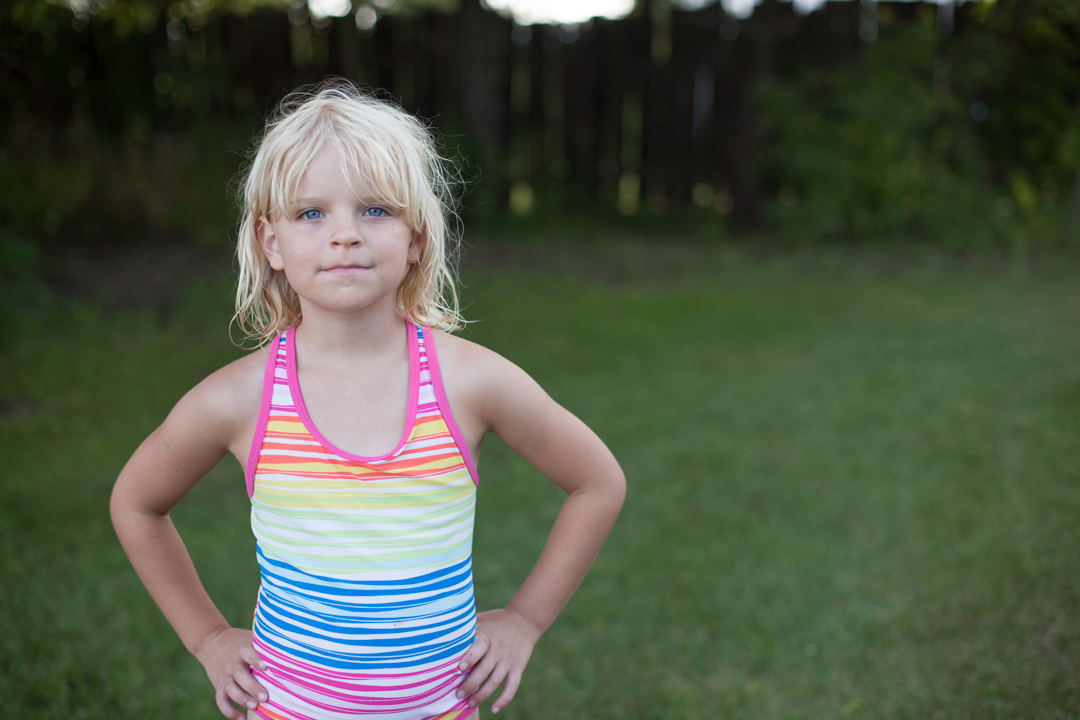
Here’s the resulting image.
Let’s say, instead, that your subject is under a tree, with the tree above and the hedge behind her, but instead of the sun being at her back it’s actually directly in front of her. Then, the light source would still be in front of your subject, but because there’s nothing to block the light coming in, she might not be in shade after all (in other words, the sun might be streaming in and hitting your subject directly). In this picture, Maura – the subject – is under a tree with a building behind her, but she’s facing the sun.
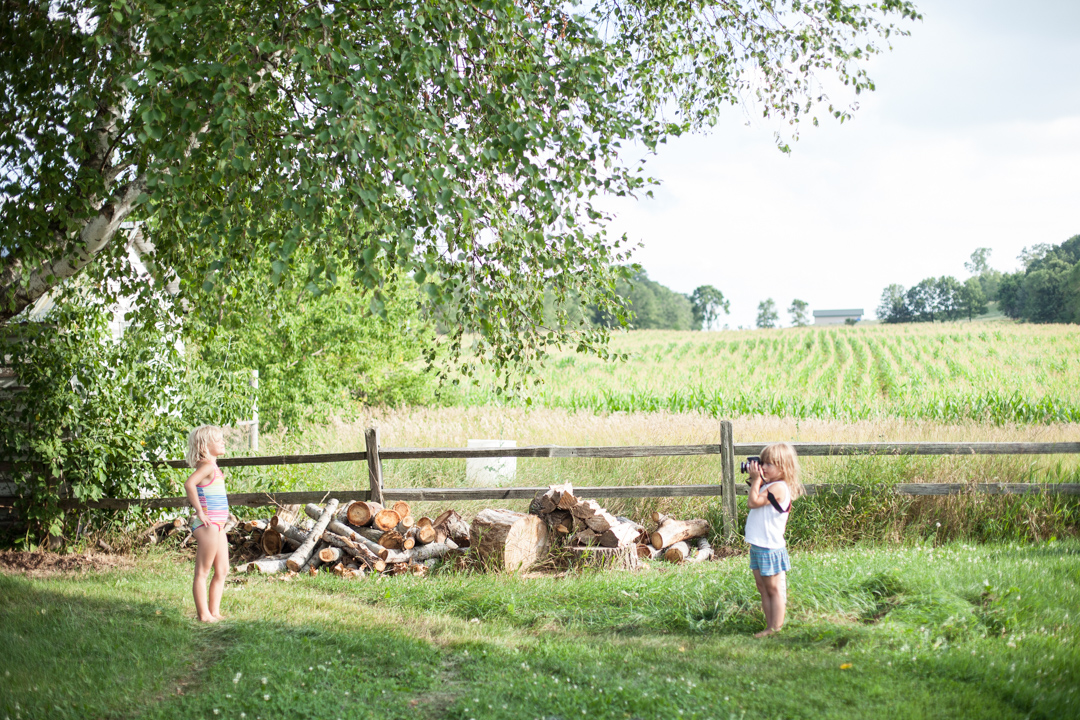
As you can see, it’s possible to create beautiful images in this setup, but the sun can often be very intense which can cause a person to squint. Luckily, this day the sun was diffused by clouds, so Maura didn’t squint too much. In more direct sun, a setup like this should be avoided.

The more you look for open shade, the easier it will be to recognize. Just look for where the sun is creating a shadow; then look for a big open space up above that shadow. If you can find those two things, you can find open shade!
I’m Gretchen Willis, and I’m a photographer in central Wisconsin, shooting families, children, breastfeeding and maternity, couples and engagements, as well as weddings and other events. I offer mentoring sessions for photography, editing, and portfolio reviews. I have also written an eBook titled Love Letters to Your Children, which you can purchase here. I will also be teaching classes soon for intermediate photography, Adobe Lightroom, and preparing a portfolio for a pro application. To find out more, visit the “For Photographers” tab at the top or contact me.